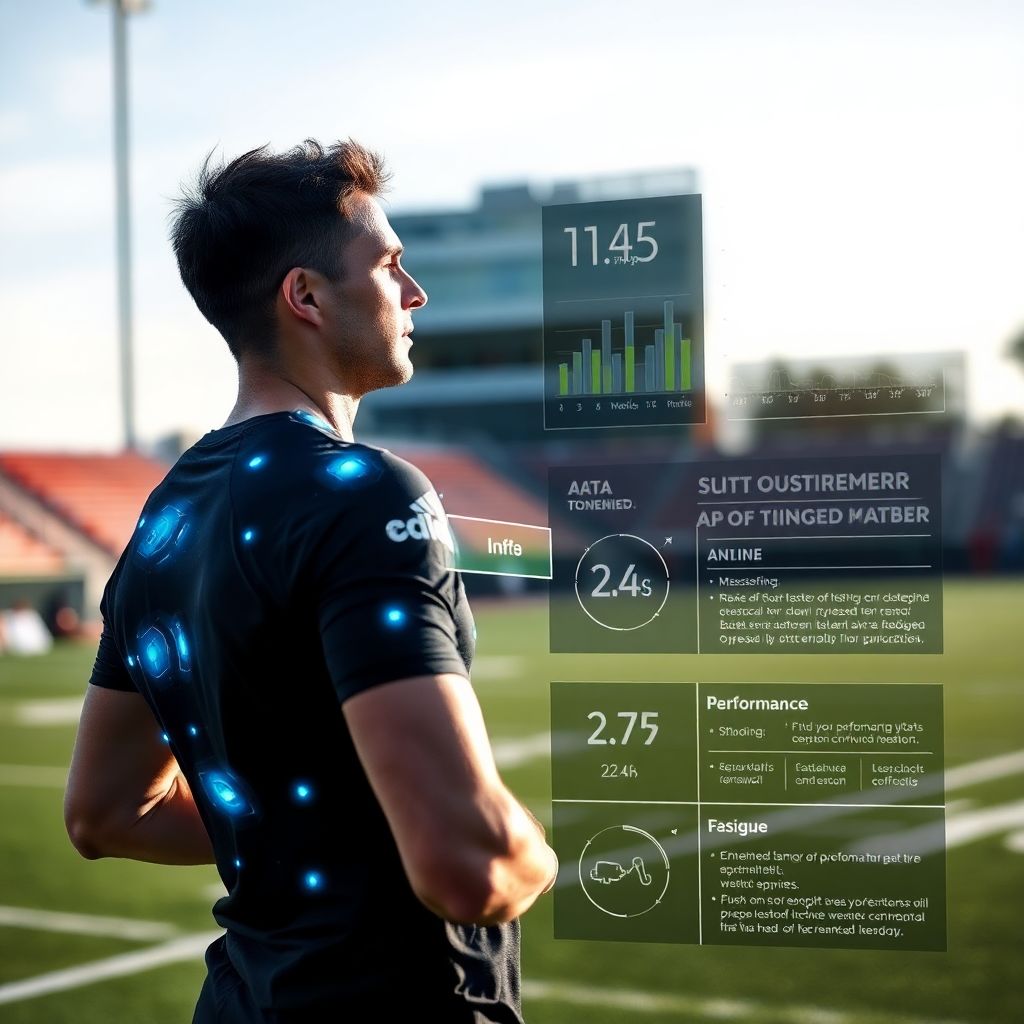
Wearables and smart sensors in sport help you track performance, spot fatigue early, and reduce injury risk by combining heart rate, movement, and load data into simple decisions: slow down, stop, or adapt the session. This guide shows how to choose devices, run safe data collection, and turn metrics into practical training changes.
Performance & Injury Risk Snapshot
- Match the device to the main sport metric: pace and route for runners, change of direction and jumps for court sports, contact load for team sports.
- Start simple: heart rate and GPS usually deliver more value than complex metrics you do not understand yet.
- Use wearables to confirm what you feel: unusual fatigue, pain spikes, or sleep issues should align with data, not be ignored.
- Set clear rules before training: when alerts trigger, who stops the athlete, and how the session is modified.
- Review trends weekly, not only single workouts, to detect early overuse patterns and adjust volume gradually.
Selecting Wearables for Sport-Specific Metrics
Wearables are most effective when they match your sport, level, and staff capacity to analyze data. For an intermediate runner in Brazil, a simple pulseira inteligente para corrida com GPS e monitor cardíaco already offers pace, distance, and heart rate zones good enough to manage load and recovery.
For team sports and CrossFit-style training, melhores smartwatches para monitorar desempenho esportivo usually combine wrist-based heart rate, basic GPS, and some form of movement or VO2-related metrics. They are versatile, work indoors and outdoors, and integrate with common apps for post‑session review.
If your focus is injury prevention, look at sensores inteligentes para prevenção de lesões esportivas such as foot pods, shin or thigh units, and IMUs that capture impact, jump count, and asymmetry during running and change-of-direction drills.
In high-heat or contact environments, athletes often tolerate roupas esportivas com sensores biométricos comprar (shirts, bras, or shorts with integrated sensors) better than extra straps; they keep sensors stable and improve signal quality for heart rate and breathing patterns.
When comparing different brands of relógios esportivos com monitor cardíaco preço, focus less on small price gaps and more on: accuracy under sweat and motion, battery life for your longest session, comfort, local warranty in Brazil, and app language support (Portuguese helps adoption with younger athletes and parents).
Consider skipping advanced wearables for now if you: do not have time to review data at least once per week; lack basic understanding of RPE, heart rate zones, and session duration; or work with very young kids where enjoyment and technique should be the main priorities.
Single-Sensor vs. Multi-Sensor Architectures: Trade-offs
Before designing your monitoring workflow, decide between a single device per athlete or combining several sensors. This choice defines what metrics you can access, the complexity of your setup, and how much time you spend on syncing, cleaning, and interpreting data.
| Option | What it includes | Main advantages | Main limitations | Best for |
|---|---|---|---|---|
| Single-sensor (one smartwatch or band) | Wrist device with optical HR, GPS, basic motion | Low cost, easy to use, fast charging, simple apps | Limited detail on joint load, asymmetry, and contact events | Recreational runners, small football teams, school programs |
| Single-sensor (chest strap + phone/watch) | ECG-style HR strap, app on phone or watch | More reliable heart rate under high intensity and sweat | Extra strap to wear; less comfortable in some sports | Intervals, heat training, cardiac-sensitive athletes |
| Multi-sensor basic | Watch + chest strap or foot pod | Improved pace, cadence, and HR quality; backups if one fails | More pairing steps, more potential tech issues | Intermediate-advanced runners, small clubs with a coach |
| Multi-sensor advanced | Watch + IMUs on limbs/torso + sometimes smart garments | Rich detail on jumps, asymmetry, accelerations, and load | Higher cost, data overload, requires staff with data skills | Professional academies, high-performance centers |
Technical requirements grow as you move toward multi-sensor systems. You will need:
- Reliable Bluetooth or ANT+ connections for all sensors.
- Secure cloud storage or a laptop with enough space for repeated sessions.
- Software that can merge data streams by time (watch + straps + IMUs).
- Clear permission and privacy rules, especially when working with minors.
For most intermediate users in pt_BR context, starting with a mid-range watch or band and adding a single extra sensor (chest strap or foot pod) is usually the safest and most cost-effective path.
Data Collection Protocols and Pre-Session Checklist
Consistent data collection matters more than perfect hardware. Use the following mini-checklist and protocol each time you monitor a session. This keeps athletes safe, ensures fair comparisons between days, and reduces time wasted on fixing bad or missing data after training.
| Preparation area | What to check | Quick action |
|---|---|---|
| Equipment | Battery level of watch/band, straps, and phones | Charge or swap devices before warm-up if below your comfort threshold |
| Software | App login, athlete profiles, firmware updates | Update only outside training days; verify profiles are correct (age, weight) |
| Calibration | GPS lock, indoor profile, sensor pairing | Start devices 5-10 minutes before; confirm HR signal before first drill |
| Environment | Heat, humidity, field surface, obstacles | Adapt target intensity and rest; mark unusual conditions in your notes |
-
Define the session objective and critical metrics
Clarify what you want to learn: speed tolerance, repeated sprint ability, or long easy endurance. Choose no more than three main metrics such as average heart rate, total distance, and number of sprints.- Write the objective on your plan or whiteboard.
- Explain to athletes which metric matters most today.
-
Assign and fit devices safely
Give each athlete a specific device ID and record who wears what. Check strap tension: firm enough for stable contact, not so tight that it restricts breathing or blood flow.- Place watches one finger above the wrist bone, sensors on recommended body areas.
- Check for any skin irritation or discomfort before starting.
-
Pair sensors and confirm live signals
Open the app or watch menu and pair heart rate straps, foot pods, or limb sensors. Confirm that each athlete shows reasonable resting values before warm-up.- Ask athletes to stand or walk slowly while you verify heart rate and GPS status.
- Fix missing or unrealistic signals before the main part of the session.
-
Run a structured warm-up with baseline capture
Use a standard warm-up that you keep similar across monitored days. Let devices record the whole warm-up; this becomes your baseline for that day.- Mark any unusual issues (poor sleep, soreness, recent illness) in session notes.
- Notice if heart rate seems unusually high for easy drills, which can indicate fatigue.
-
Execute the main set with simple rules
Start intervals, games, or technical drills according to plan. Keep eyes on the field first, screens second; use data to confirm intensity, not to micromanage every second.- Set internal rules like stopping an athlete if values stay too high for several minutes.
- Respect any complaint of pain or dizziness even when numbers look normal.
-
Cool down and stop recordings cleanly
After the last drill, keep tracking through an easy cool down. Stop all recordings at the same point, then remove and clean devices.- Rinse straps as recommended by the manufacturer, dry sensors fully.
- Sync data while athletes stretch or debrief, then put devices to charge.
-
Tag the session and store key notes
In your app or log, tag the session type (intervals, match, long run) and surface (track, street, grass). Add 2-3 quick notes about conditions, injuries, or major changes.- Use consistent tags so you can filter sessions later.
- Record any early injury signs (tightness, unusual fatigue) linked to specific drills.
Real-Time Monitoring: Alerts, Thresholds and Response Flow
Live monitoring must remain athlete-centered and safety-first. Use this checklist to keep alerts actionable, while avoiding overreaction to small, temporary spikes in the data you see on watches, bands, or tablets at the side of the field or track.
- Define which alerts you actually act on (for example: sustained high heart rate, repeated sprint drop-off, unusual movement asymmetry).
- Choose quiet but visible alerts on the device (vibration, simple color codes) instead of loud sounds that distract the whole group.
- Appoint one staff member to watch the data and another to watch technique and body language.
- When an alert triggers, first check how the athlete feels and looks; never rely on numbers alone to decide.
- If the athlete reports pain, dizziness, or confusion, stop activity immediately and follow your standard medical protocol.
- Use short, pre-defined decisions: keep intensity, reduce pace, extend rest, or end the session for that athlete.
- Log the alert event (time, drill, subjective feeling) to review patterns later and refine your thresholds.
- Avoid constant live commentary based on data; communicate only key adjustments so athletes stay focused on execution.
- After the session, verify that alerts matched meaningful changes, not just GPS errors or transient signal noise.
Analyzing Biometrics to Detect Early Injury Signals
Post-session analysis is where wearables help prevent injuries, but only if you interpret trends correctly. The following mistakes often hide early warning signs in heart rate, movement, and session load data collected from watches, bands, and smart garments.
- Focusing on isolated spikes instead of repeated patterns across several sessions.
- Comparing hard interval days to easy recovery days without considering the planned difference in intensity.
- Ignoring athlete-reported soreness or fatigue when data looks acceptable.
- Using the same thresholds for every athlete, regardless of age, position, or training history.
- Failing to note contextual changes such as heat, travel, or new shoes when interpreting performance drops.
- Misreading improved efficiency (same pace with lower heart rate) as a sign of laziness instead of adaptation.
- Relying only on total distance or time while neglecting high-speed or high-impact portions of the session.
- Overvaluing advanced metrics you do not truly understand and underusing simple, robust ones like RPE and heart rate.
- Not checking for technical issues like poor sensor contact before concluding an athlete is underperforming.
- Delaying review until many weeks pass, missing the chance to reduce load early when small issues appear.
Translating Wearable Insights into Training Adjustments
When you see clear patterns in your data, the next step is to adapt training. If you do not have access to advanced wearables or if devices fail, you can still make solid load decisions with simpler, safer alternatives that follow the same logic as the digital metrics.
- RPE + session duration instead of full sensor stacks – Combine an athlete’s rating of perceived exertion with total session time to estimate internal load. This is a low-tech backup when watches or straps are unavailable.
- Manual jump and sprint counts instead of IMUs – For court and field sports, count jumps, sprints, or changes of direction per drill. Use this to control the highest-impact parts of training when you lack limb sensors.
- Simple heart rate monitor only instead of multi-sensor kits – A basic chest strap or band gives enough information to manage intensity and recovery, especially in endurance sports or rehabilitation phases.
- Technical and movement-quality checklists instead of asymmetry metrics – Use a short list of technique cues (knee alignment, landing softness, trunk control) during key drills to catch risky patterns, even without smart garments or motion sensors.
Common Implementation Concerns and Solutions
How can I introduce wearables to athletes without overwhelming them?
Start with one or two simple metrics (for example: heart rate and session duration) and explain how they protect health and improve performance. Add complexity only after athletes are comfortable and see personal value in the feedback.
What if some athletes refuse to wear sensors or smart shirts?
Respect their choice and focus on education, not pressure. Offer alternatives such as RPE tracking, shorter drills, or gradual exposure to devices, and ensure no athlete is punished for not wearing technology.
How should I manage data privacy, especially with young athletes?
Collect only data you truly need, store it securely, and limit access to relevant staff. For minors, obtain explicit parental consent, explain what is measured, and avoid sharing individual data publicly or on social media.
Do I need a sports scientist to use advanced wearables?
A specialist helps, but is not mandatory. Coaches can start effectively with simple dashboards and basic education on load management, and later collaborate remotely with a sports scientist if deeper analysis is needed.
What should I do when device data conflicts with what I see on the field?
Prioritize safety and your direct observations. First, check for technical errors; if the data still seems inconsistent, treat it as a signal to monitor more closely in the next sessions, not as a reason to ignore the athlete.
How often should I review and adjust thresholds or alert settings?
Review settings at least each training block or whenever you notice frequent false alerts or missed fatigue signs. Adjust thresholds gradually and document changes so you understand why patterns in the data shift.
What if my budget is limited and I cannot equip the whole team?
Start by monitoring a small representative group by position or role and rotate devices across athletes. Combine their data with simple tools such as RPE and manual counts so all players still benefit from structured load management.